Create a Simply chat bot easily no coding skills required
Create a Simply chatbot easily no coding skills required
( Using Dialogflow and Botcopy )
Introduction : -
In this tutorial, you will learn to create
a chatbot that can be added to any of your web pages.

This article is divided into Two parts:-
PART-1 :- Explains you how to create a chatbot using DialogFlow.
PART-2 :- Explains how to add chat bot created in DialogFlow to any webpage using BotCopy.
PART-1

Step 2:- If your signing in for the first time give access for dialog flow to use your details from google account. Then click on next after successful sign in you will see the below screen.

Step 3:- Click on create
agent will open.

- Give the name to your agent
- Google project > select > create a new Google project.
- Click on create.
Step 4:- When Agent is successfully created.

Step 5:- Enable small
talk.
1.
Click on small
talk.
2.
Click on enable
toggle.

Step 6: - Customize small talk
as your requirement.

Step 7: - Creating Intents:-

1.
Click “+” on
right of intent tab.
2.
Add name to
intent.
3.
Add Training
phases.
4.
Click on save.
What is intents?
An Intent is a specific
action that the user can invoke by using one of the defined terms in the
Dialogflow console. For example, the user could ask “Is it going to rain
today?” or “Where is the nearest pizza restaurant” — if these are terms defined
within the console, then they will be detected by Dialogflow and the intent that
are defined under will be triggered.
The list of defined intents for your agent can
be found by navigating to the Intents navigation item within the menu on the
left in the console.

An Intent allows us as
developers to define a selection of individual tasks that can be invoked by the
user. You should aim to keep these intents focused and concentrate on the
functionality that they are crated for, this allows us to keep the length of
the invocation short and give the user the desired response in a shorter time
frame.
PART-2
Now we are going to know ,how to bring our chat bot to functionality by Adding it to you desired webpage.
Step 8:- visit https://www.botcopy.com/
Click on Get started for free.

Step 9:- Sign up Using the same google
account you had used for signing in Dialogflow.
After Sign in you will see the below portal.
- Click on Add a bot

- Select our Dialog flow project.
·

Step 10:- If All the steps are correctly followed you should able to see a page like below .

Step 11:- Now Copy the Html
embed Snippet Show in above picture to any of your web pages.
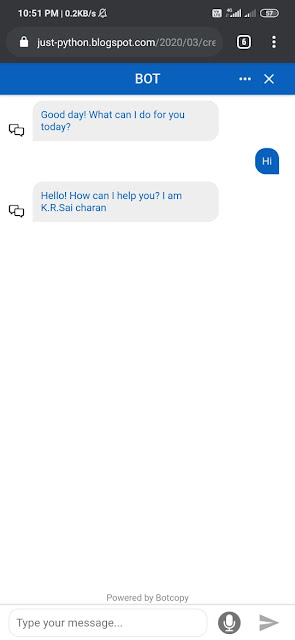
I am adding this Bot to my blog.


Experience the live by
visiting: - My blog https://just-python.blogspot.com /


I do agree with all the ideas you have presented in your post. They’re really convincing and will certainly work. Still, the posts are very short for newbies. Could you please extend them a little from next time?..Keep this great work..
ReplyDeleteChatbot Company in Dubai
Chatbot Companies in Dubai
Chatbot Development
Chatbot Companies
AI Chatbot Development
Chatbot Companies in UAE
Chatbot Company in Chennai
Chatbot Company in Mumbai
AI Chatbot Companies
Chatbot Development Companies
Sure Ma'am , thank you
DeleteThis comment has been removed by the author.
ReplyDelete